Keeping your home’s tiles and grout pristine can be challenging, especially when dealing with white grout. Over time, white grout in showers, kitchens, or other high-traffic areas can accumulate dirt, grime, and even discoloration, robbing it of its once-beautiful appearance. But fear not, for Sparkling and Beyond, the experts in cleaning services, are here to […]
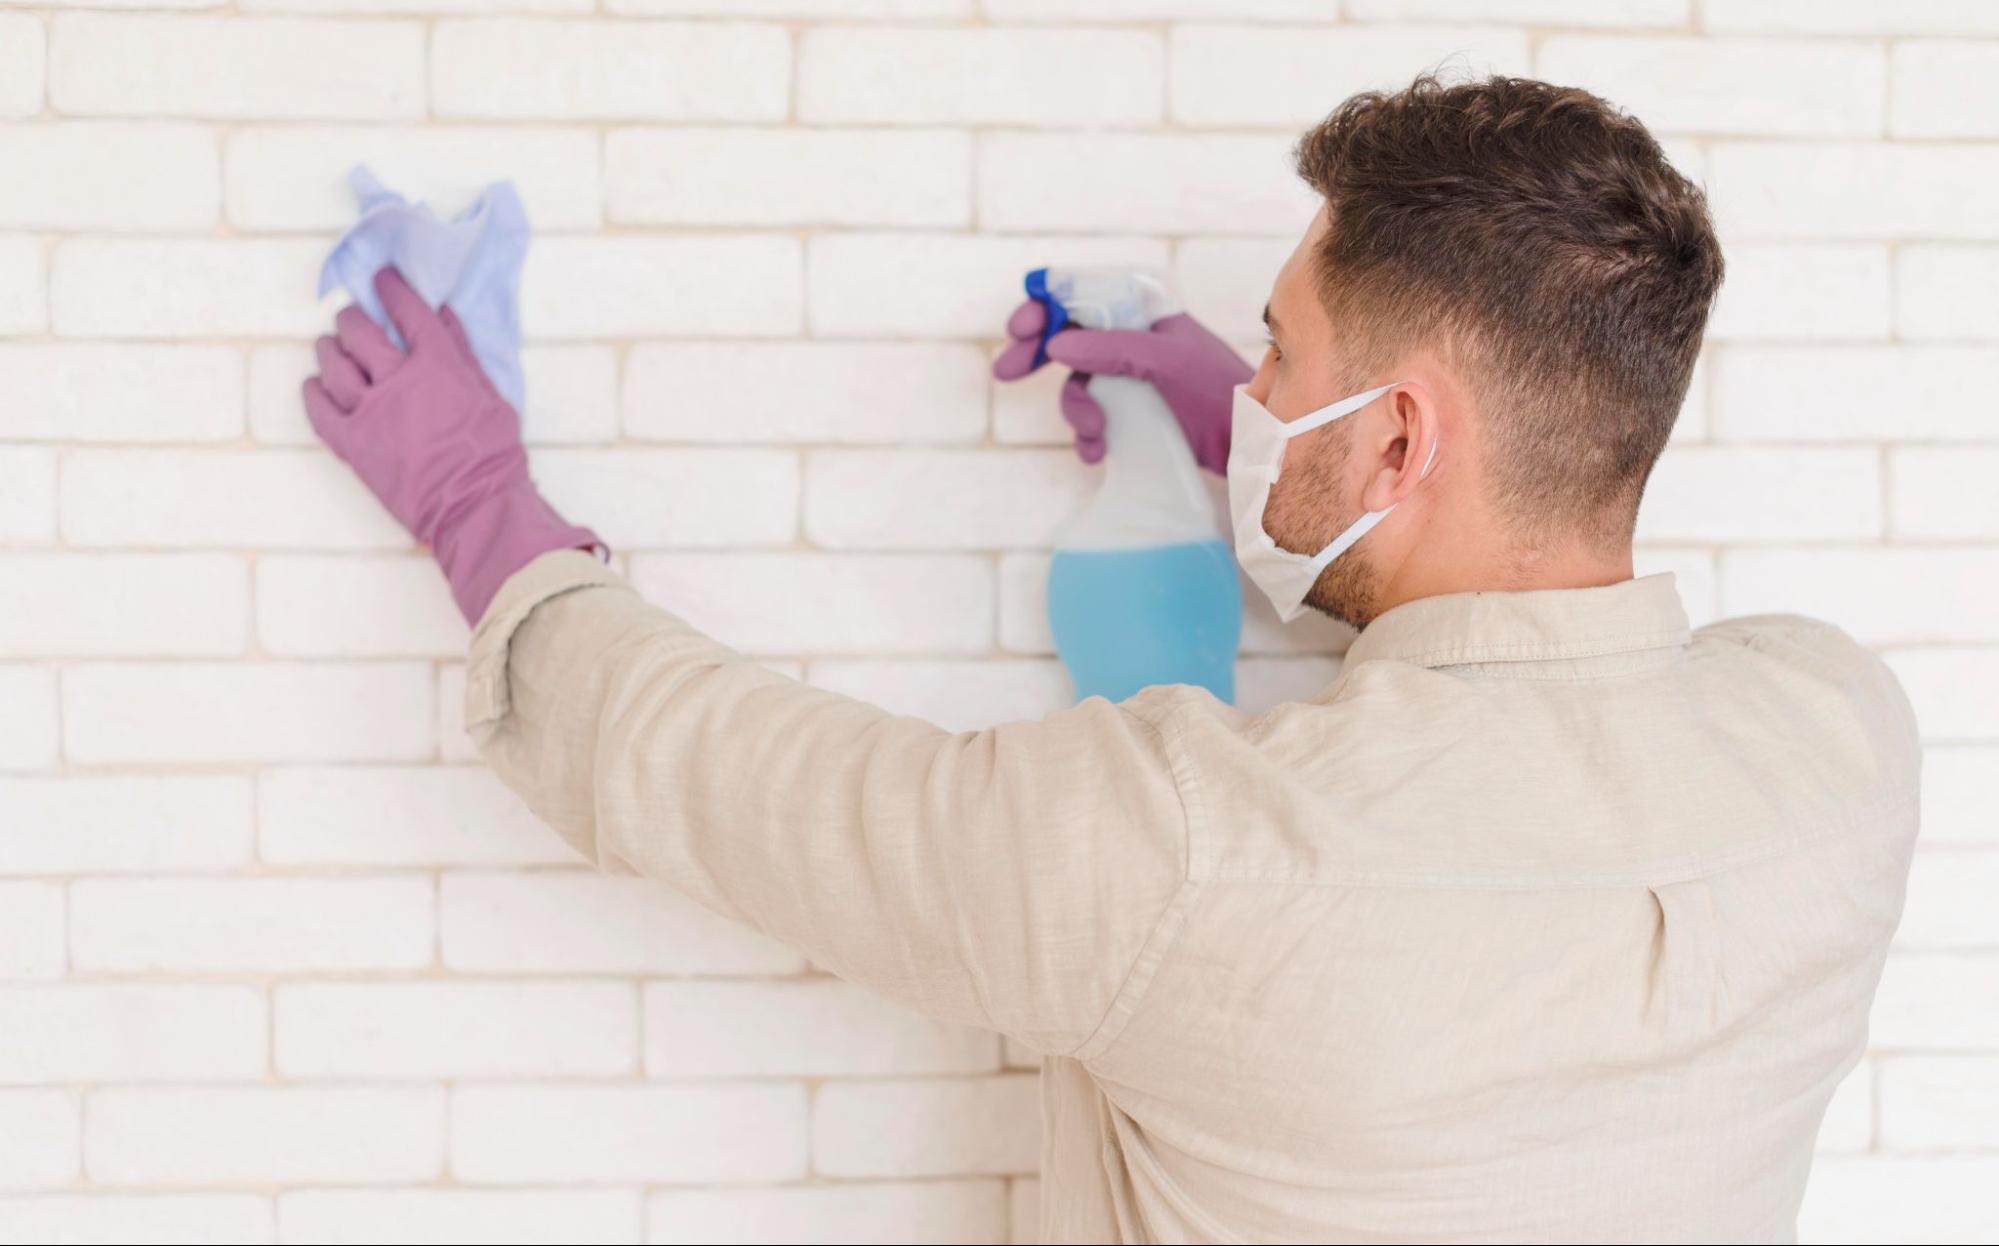
Keeping your home’s tiles and grout pristine can be challenging, especially when dealing with white grout. Over time, white grout in showers, kitchens, or other high-traffic areas can accumulate dirt, grime, and even discoloration, robbing it of its once-beautiful appearance. But fear not, for Sparkling and Beyond, the experts in cleaning services, are here to share their secrets on restoring and maintaining the brilliance of your white grout. In this comprehensive guide, we’ll walk you through step-by-step processes, essential cleaning agents, and valuable tips to ensure your white grout stays spotless and gleaming like new.
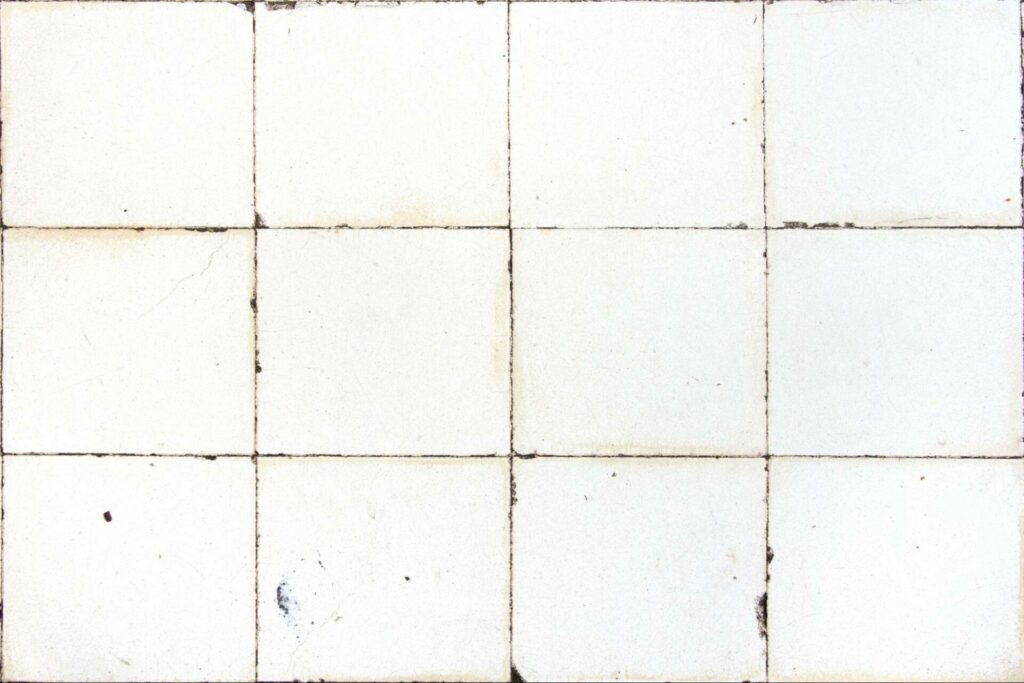
Before diving into the cleaning process, it’s essential to comprehend why white grout loses its brightness. Over time, the accumulation of soap scum, hard water deposits, and mildew in your shower can lead to the discoloration of white grout. This is particularly noticeable in places with high humidity, where mold and mildew tend to thrive, making regular cleaning and maintenance crucial.
Before you begin, ensure you have the necessary cleaning supplies ready:
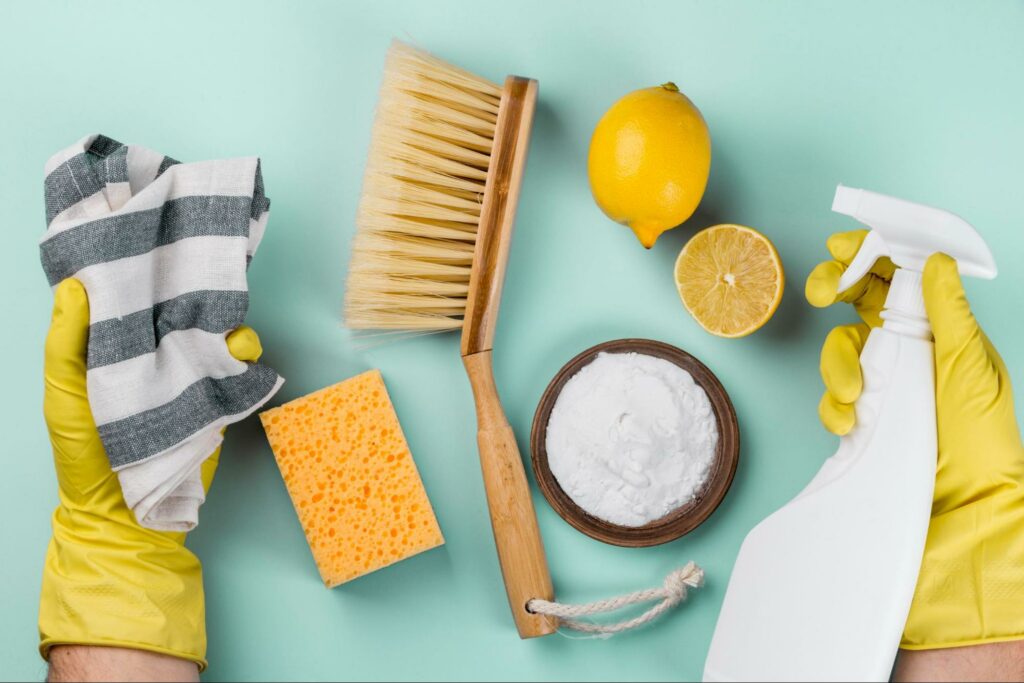
For a powerful yet eco-friendly cleaning solution, mix equal parts of white vinegar and water in a spray bottle. Alternatively, you can create a paste by combining baking soda and hydrogen peroxide until it forms a thick consistency.
Start by removing any surface dirt and debris from the grout lines using a soft-bristled brush or a vacuum cleaner. This initial step will make the cleaning process more effective.
Option A: Spray the white vinegar and water solution generously onto the grout lines and let it sit for about 10-15 minutes. Vinegar’s natural acidity will help dissolve soap scum and mineral deposits.
Option B: If you opt for the baking soda and hydrogen peroxide paste, apply it directly onto the grout lines, ensuring even coverage. Allow it to sit for 5-10 minutes to penetrate stains and discolorations.
Using an old toothbrush or a soft-bristled brush, start scrubbing the grout lines in a gentle circular motion. Focus on persistent stains and areas with heavy discoloration. Be patient and avoid using abrasive brushes that could damage the grout.
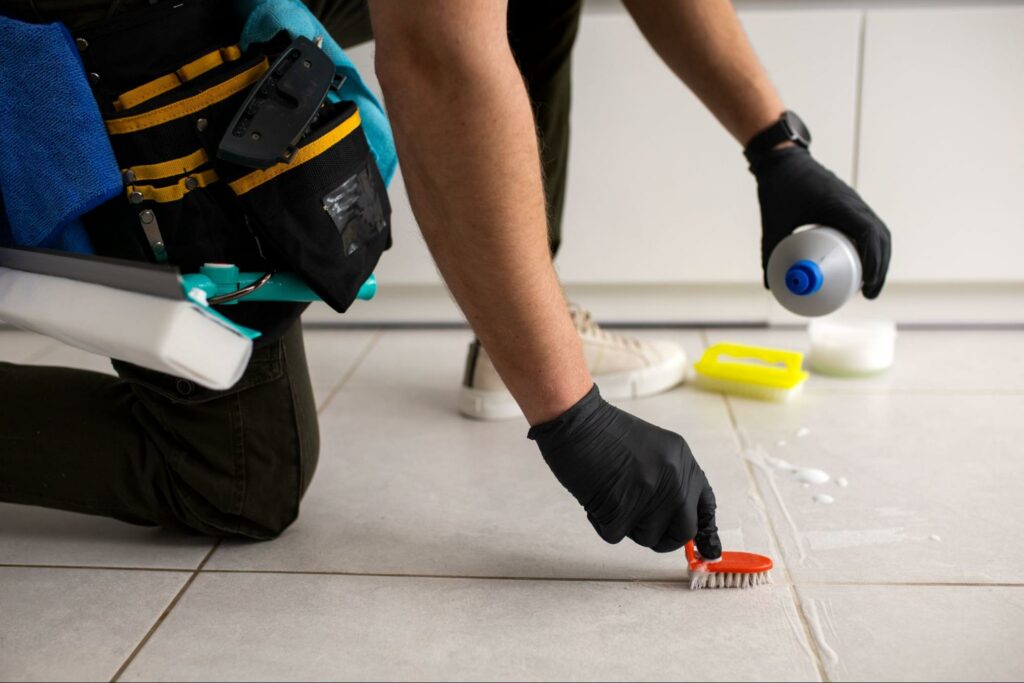
After scrubbing, rinse the grout lines thoroughly with water to remove any cleaning residue. Inspect the results and repeat the process if necessary, depending on the severity of the stains.
Preventing white grout from discoloration is more manageable with some proactive measures:
Create a cleaning schedule to ensure that you clean your shower regularly. This prevents the buildup of grime, mold, and mildew that can lead to grout discoloration.

Invest in shower curtains or liners that have mildew-resistant properties. This will minimize the growth of mildew in your shower and, consequently, the discoloration of your white grout.
Make sure your bathroom has adequate ventilation to reduce humidity levels. Use an exhaust fan or open a window during and after showers to allow moisture to escape, inhibiting mold growth.
How Sparkling and Beyond Transformed Sarah’s Shower Grout
Sarah, a busy professional, had neglected her bathroom’s grout for months, leading to deeply ingrained stains and discoloration. Sparkling and Beyond was called in to revitalize the white grout and restore the shower’s pristine appearance.
Our team of experts examined the grout lines and assessed the dirt, mold, and stains level. This evaluation helps determine the most effective cleaning approach.
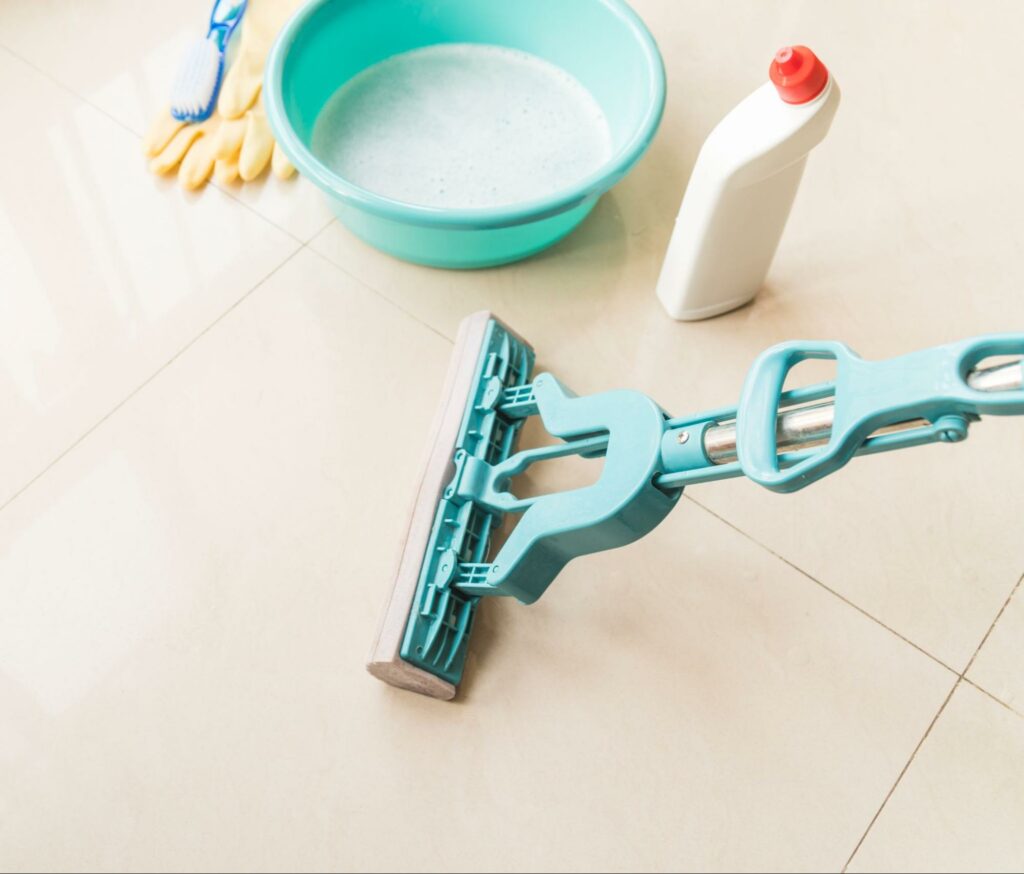
Before the main cleaning, we removed loose dirt and debris using a vacuum cleaner with a brush attachment, preventing further damage during the scrubbing process.
Considering the severity of the stains, we prepared a specialized cleaning solution using a mix of white vinegar and baking soda. The vinegar tackled soap scum and mineral deposits, while the baking soda helped lift deep-set stains.
Using soft-bristled brushes, our cleaning experts meticulously scrubbed the grout lines, giving special attention to trouble spots. We took care not to damage the grout, ensuring it retained its structural integrity.
After a thorough scrubbing, we rinsed the grout lines meticulously to remove any remaining cleaning solution. A detailed inspection revealed a remarkable transformation.
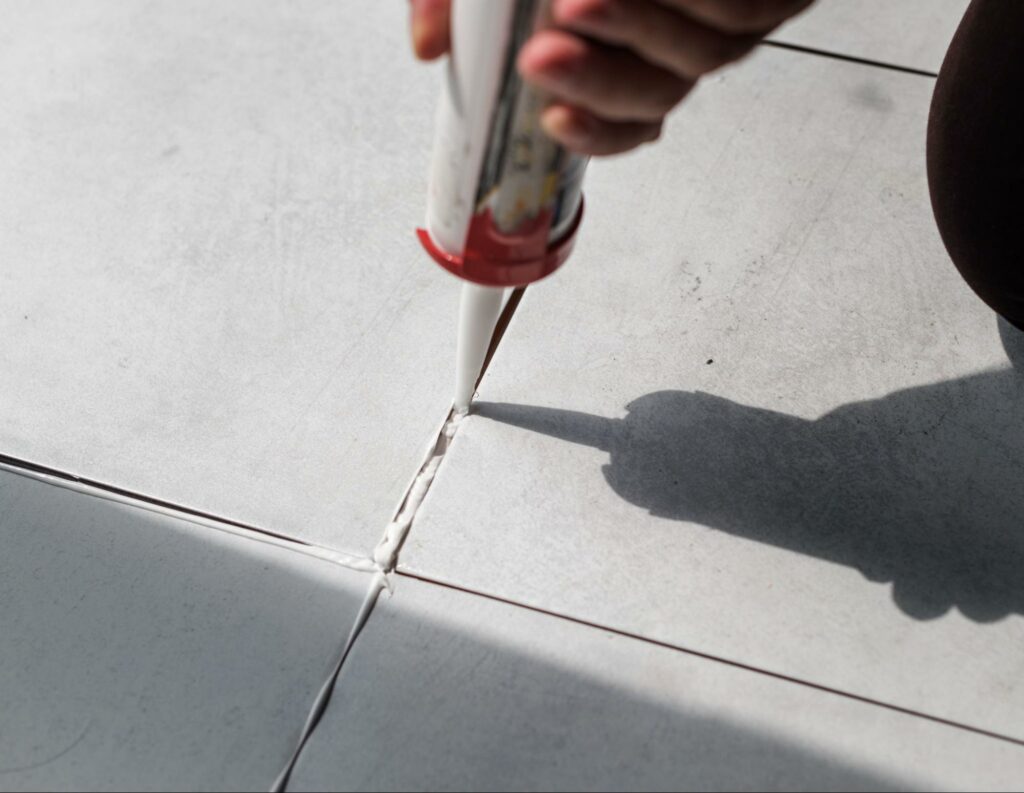
To help Sarah maintain her white grout’s brilliance, we provided her with essential post-cleaning maintenance tips, including a cleaning schedule and the use of mildew-resistant shower curtains.
White grout in your shower can be a stunning addition, but its upkeep requires attention and care. With the guidance of Sparkling and Beyond, you can conquer the challenge of cleaning white grout effectively. By following the step-by-step guide and implementing preventive measures, you can keep your shower’s grout immaculate for years. Remember, a clean, well-maintained bathroom is visually appealing and promotes a healthy and hygienic living space. So, put on your gloves, grab your cleaning supplies, and let your bathroom’s grout shine like a diamond!
At Sparkling and Beyond, we have many experts to do with grout cleaning services. We are well-experienced and our mission is to make sure that you’ll experience the best cleaning services as satisfying as we can.
Contact us now to get a free quote!
On the other hand, if you’re looking for more cleaning tips to improve your home’s look, our website has everything you need.
Don’t hesitate to visit us, run to our website!
![]()