Humidifiers are essential and useful appliances during the dry, cold months of winter. By adding back moisture air into your home, they can not only relieve itchy skin, alleviate the symptoms of colds and other respiratory disorders but also maintain a level of indoor comfort despite of seasonal changes. However, as useful as using humidifiers, […]

Humidifiers are essential and useful appliances during the dry, cold months of winter. By adding back moisture air into your home, they can not only relieve itchy skin, alleviate the symptoms of colds and other respiratory disorders but also maintain a level of indoor comfort despite of seasonal changes. However, as useful as using humidifiers, they could be harmful to your health if they are not cleaned and sanitized regularly.
Regardless of whether your humidifier produces a warm or cold mist, the moisture condition inside is a prime breeding ground for germs, bacteria and mold, which can be obviously transferred into the mist that you breathe in. Therefore, in this article, Sparkling and Beyond will providing detail information about how to clean a humidifier properly with the hope that it will be easier for you to keep your humidifier clean and sanitized at all times.
When it comes to cleaning your humidifier, the first question that springs to your mind probably is ” how often should I clean a humidifier ?”. Most humidifier manufacturers recommend that in order to keep your cleaning humidifier free of bacteria and other undesirable microbes, you should clean your humidifier once a week. The Environmental Protection Agency suggests cleaning and disinfecting a humidifier every three days. It may seem a little bit difficult for the upkeep, but it’s well worth it to avoid any harmful effects that a dirty humidifier can cause to your health and your property.
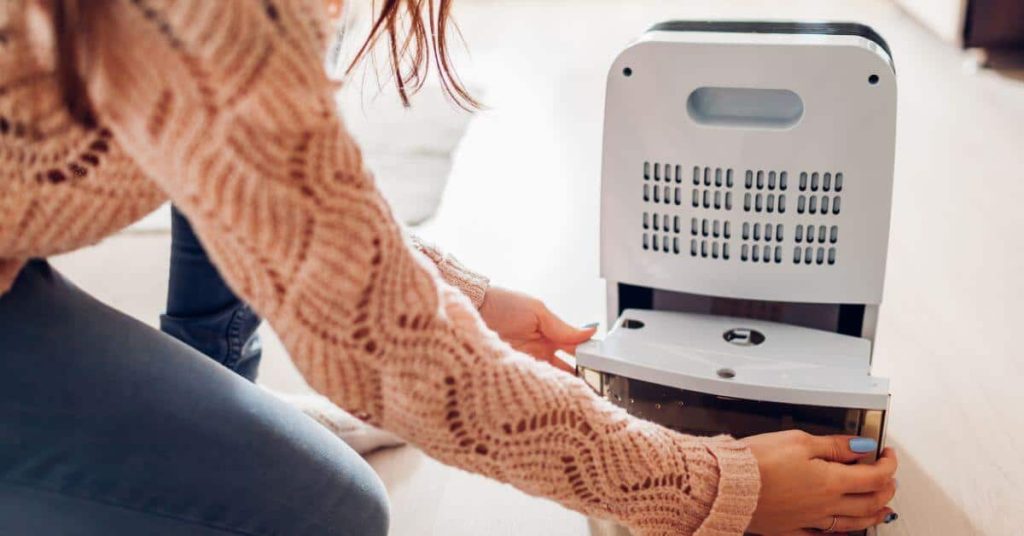
What you’ll will need:
Before you start cleaning, preparing the following tools below:
Before starting cleaning your humidifier, as there are so many various types of humidifiers, you should check the owner’s handbook first to determine what’s needed since each model has its own set of care, maintenance needs and warnings.
After carefully reading the manual, you should gently unplug the humidifier from the wall and disassemble it, following the manufacturer’s instructions. In case you lost the manual, you can search for the way of properly unplugging it on the Internet.
When disassembling it, remove and empty out the water tank as a part of this step. Pour out any remaining water from the tank, base and detach all removable parts. If your humidifier has an air filter, make sure to remove it as well.
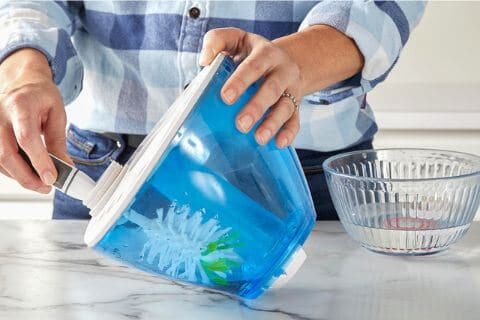
Preparing a cleaning solution by mixing about two cups of white vinegar and one cup of water ( The proportion can be adjusted to the size of the water tank). Pour that water-vinegar mixture into the humidifier tank, swish it around so that it runs over all sides and then let the mixture sit in the tank for about 30 minutes to allow the vinegar to loosen unwanted dust and residue. After that, use a scrub brush to scrub away some of the grime at the bottom of the water tank ( if necessary), then drain the tank and rinse it thoroughly with cool, clean water.
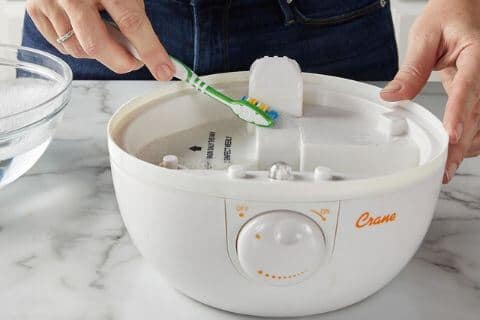
Fill your humidifier base with a cup of distilled white vinegar and use a soft-bristled brush to scrub away built-up dust and grime in the base. Then allow the cleaning solution to sit in the base for about 25 to 30 minutes before pouring it out. After that, rinse the base with water until the vinegar smell completely vanishes. Let it all air dry before you begin to use it again.
First, you have to determine what level of cleaning your humidifier filter needs. Filters that are mildly dusty can be sanitized simply by rinsing it thoroughly with water. However, if your filter has any mold growth or an overwhelming amount of dust built up in itself, a vinegar-based cleaning solution will be required. In this case, you have to follow the cleaning instructions below to deep clean your humidifier filter.
If your humidifier has a disposable paper filters, the work is much easier. Just simply throw it away and replace it with the new one. But, keep in mind that with frequent use, these should be changed at least every 6 weeks. In case, you don’t regularly use your humidifier, you will need to replace your filter once every three months to avoid any negative effects that an unsanitized humidifier can pose on your health.
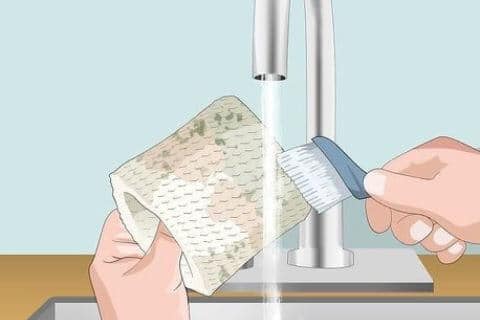
At some cases, cleaning your humidifier filter can be impossible. If it is made of a certain type of plastic, or the mold and mildew is so extensive, the best way is to replace it with the new one. This is also what most humidifier manufacturers recommend in this situation.
Once everything is completely dry, reassemble your humidifier, fill the tank with clean mineral-free water and plug it back in. Now you are ready to enjoy cleaner and healthier air.
For the best results, here are some additional tips to prevent future mold and ensure you get the most from your humidifier:
Humidifiers are great of value to soothe dry skin, relieve respiratory symptoms, and create a comforting condensation in your house. Therefore, it’s incredibly important to clean it properly and regularly in order to make your humidifier a useful comfort tool rather than a health threat.
We hope that with the cleaning instructions and information provided above, the cleaning task is no longer an issue for any humidifier users. For more useful, practical cleaning methods, visit our website or you can contact us immediately to book our professional cleaning service today!

As the admin of Sparkling & Beyond, I bring a wealth of knowledge and passion for excellence in the cleaning industry. With years of experience in providing top-notch cleaning solutions, I am dedicated to sharing valuable insights and tips to help maintain pristine and healthy living environments. My mission is to ensure every home and office we service sparkles with cleanliness and comfort.
![]()